**NOTE: Some links in this post contain affiliate links, which means I may receive a commission if you make a purchase. There’s no extra cost to you and it helps pay the hosting fees!**
When I first started my blog, I knew I would need an email list. I had plans to offer free downloads and perhaps, sell products in the future. I’d learned years ago that an email list can work wonders for an online business. But where to start?
I’d used Aweber in the past, but knew I wouldn’t be able to afford the monthly fee as I’m just starting out. Everyone talks about MailChimp, but although free is good, the features weren’t up to par with my needs. Then I heard about MailerLite*. My friend, Chantel, wrote this great post comparing MailerLite with MailChimp and another popular program, ConvertKit. Based on her experience, I opted to go with MailerLite and I’m happy I did!
So if you are interested in setting up an email list, here’s how to do it. Before we get to the tutorial, let me share some caveats. First, this is based on a self-hosted WordPress blog. While I know you can use MailerLite with other services, I personally use WordPress and know how it works. Second, the tutorial is written for immediate use. So only covering the basics and the “must-do” things to get email signups ASAP. I know this is just scratching the surface of all MailerLite* can do, but it’s a place to start.
Ok. Now the good stuff!
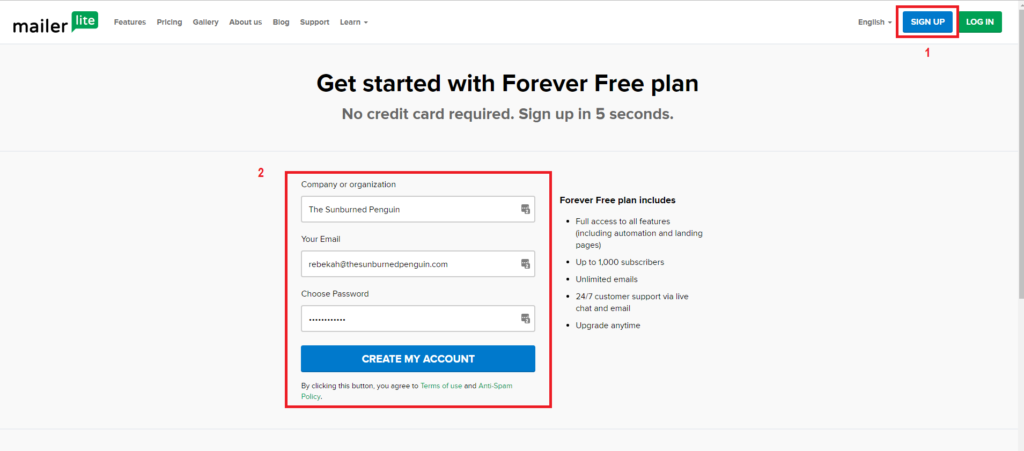
- Sign up for MailerLite*. Click the link and then click on the blue “Sign Up” button.
- Fill in your blog name, your name, choose a password and click “Create My Account”.
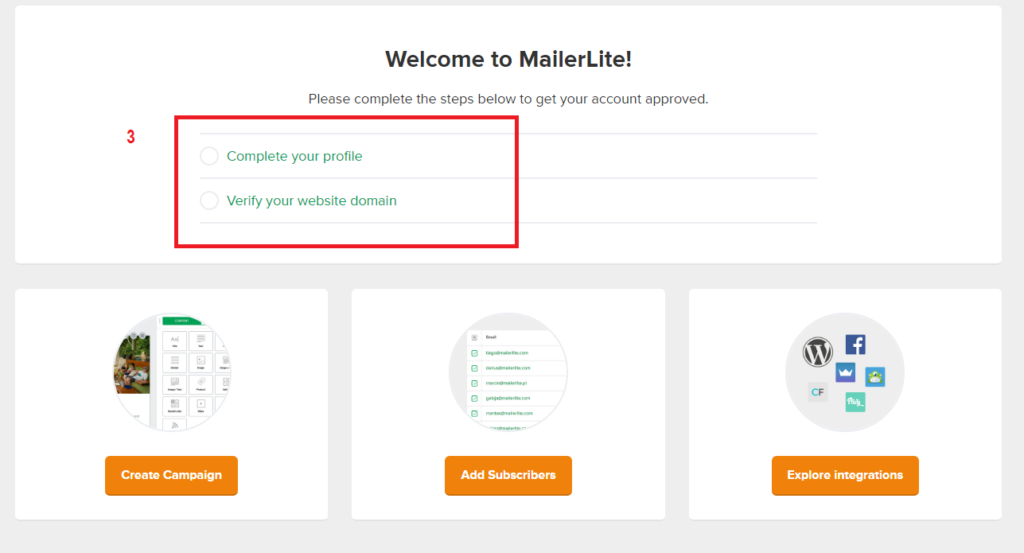
- Next, you need to validate your account. There are two parts to this: completing your profile and verifying your website domain. For your profile, fill out every field as completely as possible and submit. To verify your domain, use your email address connected to your domain (ie: mine is rebekah (at) thesunburnedpenguin.com). If you don’t have an email associated with your domain, they have some instructions. But you should have one! (If not, and you need help, let me know….)
- Once you are set, it’s time to create the signup box! Click on “Webforms” and then on “Add New Webform” (big orange button on the right).

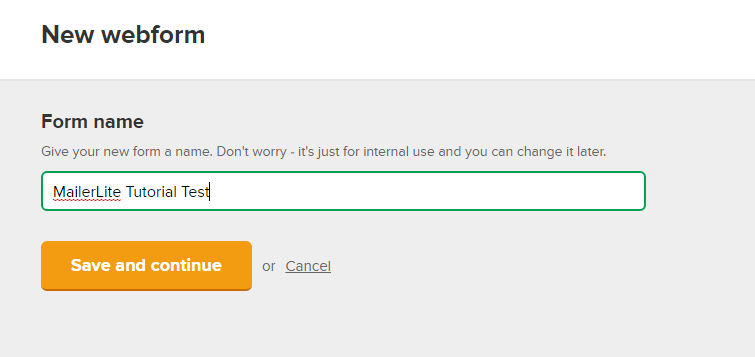
- Name your form something that will make sense to you later when you are looking for it. Since I have a different webform for each content upgrade, I try to use very specific names.
- There are several different types of forms you can create. For the purposes of this tutorial, we’re going to cover the basic Embed Form. You can also choose a popup form (be careful with these on mobile websites), landing page (I really want to explore this one!), and subscribe button (not enough details to spark interest in your visitor).

- Next you need to choose which mailing list you’ll be adding people to via this form. MailerLite calls them “Groups”. I have three right now, my main “Sunburned Penguin List” (which is the default group for my webforms) and then two special groups for my 2017 SCOPe Planner and for my Genealogy downloads.

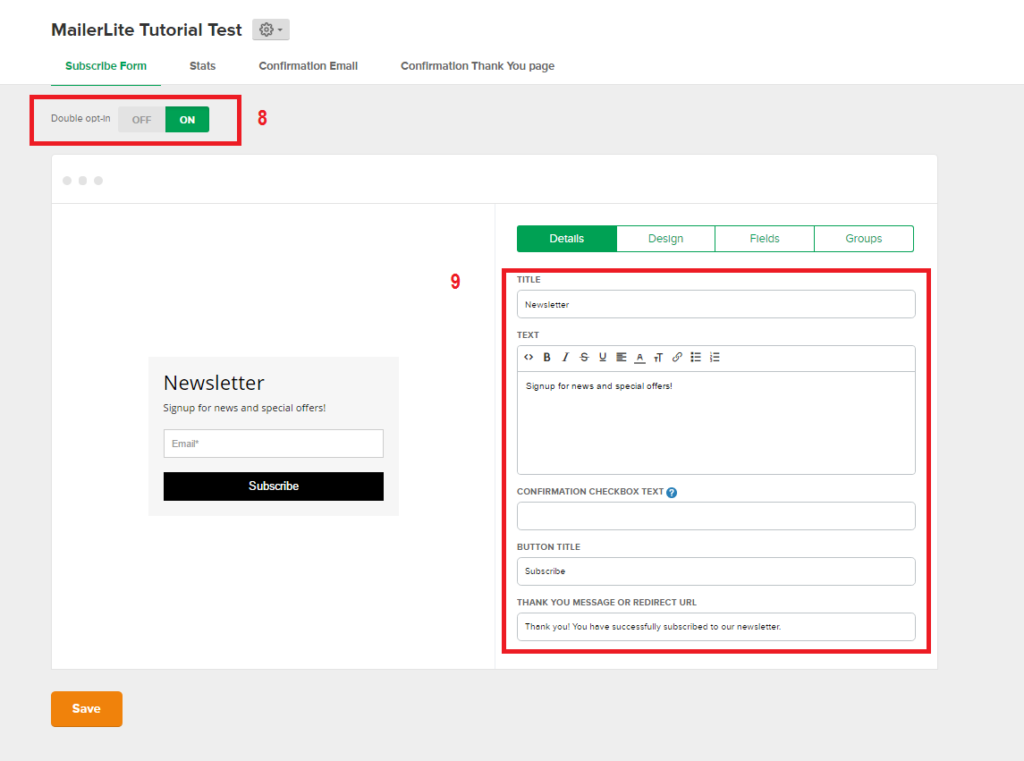
- You’ll next need to determine if you will require double opt-in or not. For a list-building form, you’ll want to do this. It’s not required, but it will prevent spammers from joining your list and ensure that everyone who signs up truly wanted to join. If you’ve never encountered the term, “double opt-in” means that when they put in their email on your site, MailerLite sends them an email with a link they need to click to confirm their subscription. It’s good policy to require double opt-in. Personally, since my webforms are just to download items and I’m not really emailing the list right now, I’ve left off the double opt-in, but will definitely add it when I’m ready to focus on that.
- Fill in the fields with what you what to show on the form. The basic form just asks for email address, and you can update the text of the form to meet what you want to say. KEY: If you are giving away an item, and you are NOT doing double opt-in, put the web link for your item in the “Thank You Message” box.
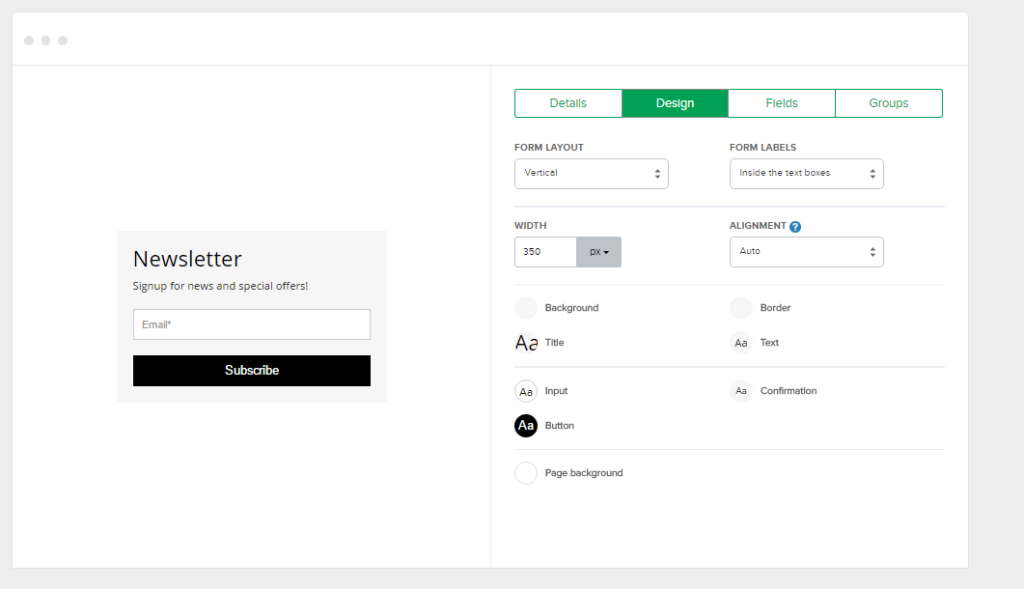
- If you want to make any changes to the design of your form, click the “Design” tab and have fun! You can customize almost everything and see a real-time preview as you go. When you’re done, click Save.
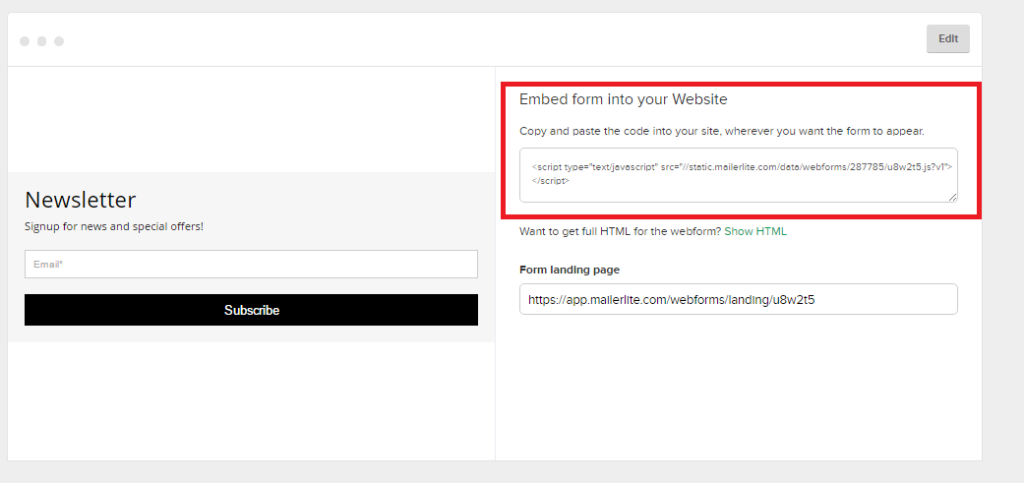
- Here’s the code for your form! It’s ready to put in your website. Go ahead and copy the whole thing from the first < to the last >.
- Go back to WordPress and to your post. Find where you want your form and type “email form” or something in that spot. I usually leave a blank line before and after as well. Look in the right hand corner for the “Visual” and “Text” tabs. Click “Text” to go to the coding page (it’s ok, don’t panic!)

- Find your place holder “email form” text and paste the code over it.

- Save your Draft and Preview! You should see your form on your post.
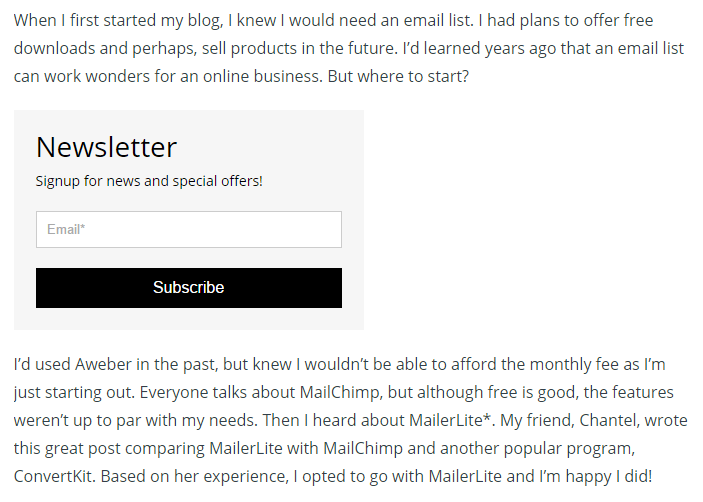
- Complete your post and publish as normal. You’re all set!
I know that was a lot of information, but hopefully you have a new webform ready to go in your blog! Let me know in the comments below if you tried it and how it worked for you!
~R

I have been using Mailerlite for a month now and love it so much! I love that its free up to 1000 users and that I can do so much with it!
Anne: I was sold by all the features! So far, not missing Aweber or ConvertKit. 🙂
Thanks for the post! I’ve been struggling with MailChimp a bit but didn’t know about any comparable free alternatives. Will check this out. 🙂
Jenny: I’ve used MailChimp for a client so was planning to for my site until I heard about MailerLite and explored it a bit. I’m glad I did! Let me know if you use it and run into any issues…